Platform Note
Installing VS Code extensions is done within the VS Code application itself. Once you have VS Code installed, these steps are identical for Windows, macOS, and Linux users.
Install VS Code Extensions
Open VS Code
Launch Visual Studio Code on your computer.

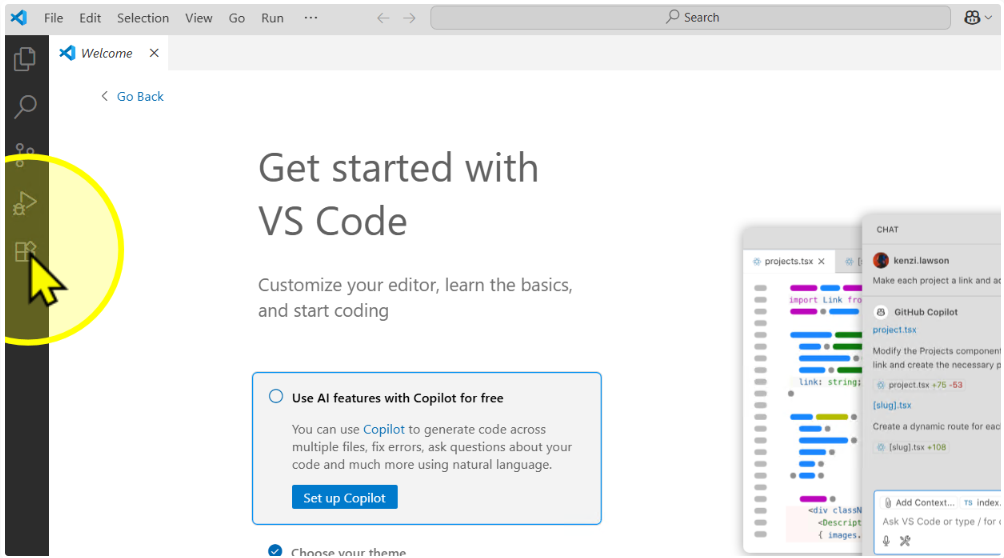
Click the 'Extensions' icon
On the left sidebar, click the Extensions icon (four little squares).
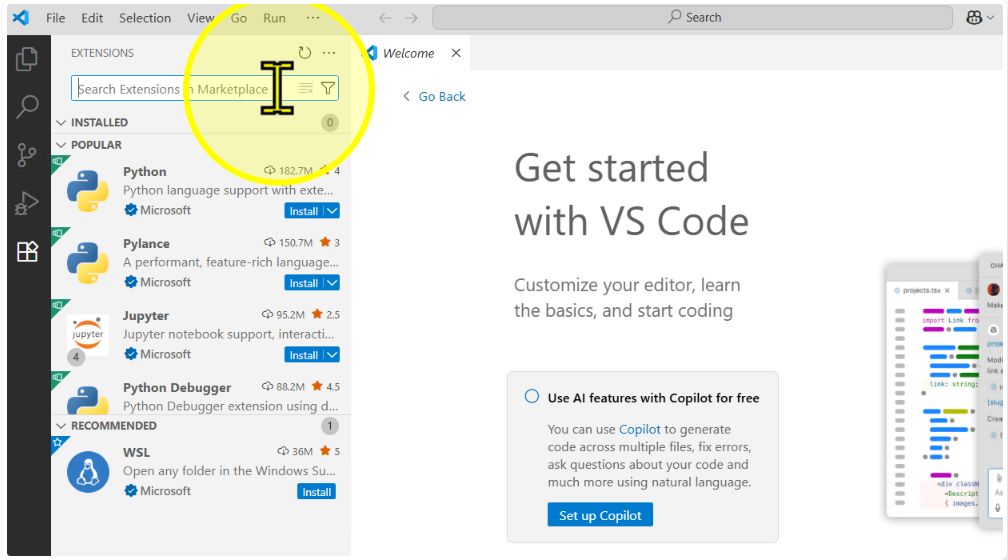
Search the Marketplace
In Search Extensions in Marketplace, type Prettier to find the first extension.
Select 'Prettier - Code formatter'
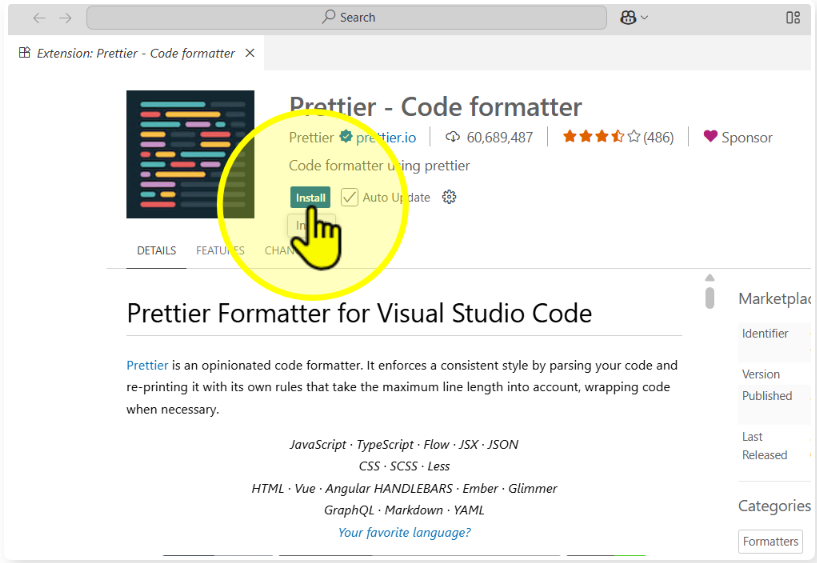
Click the Prettier - Code formatter result to open its details page.
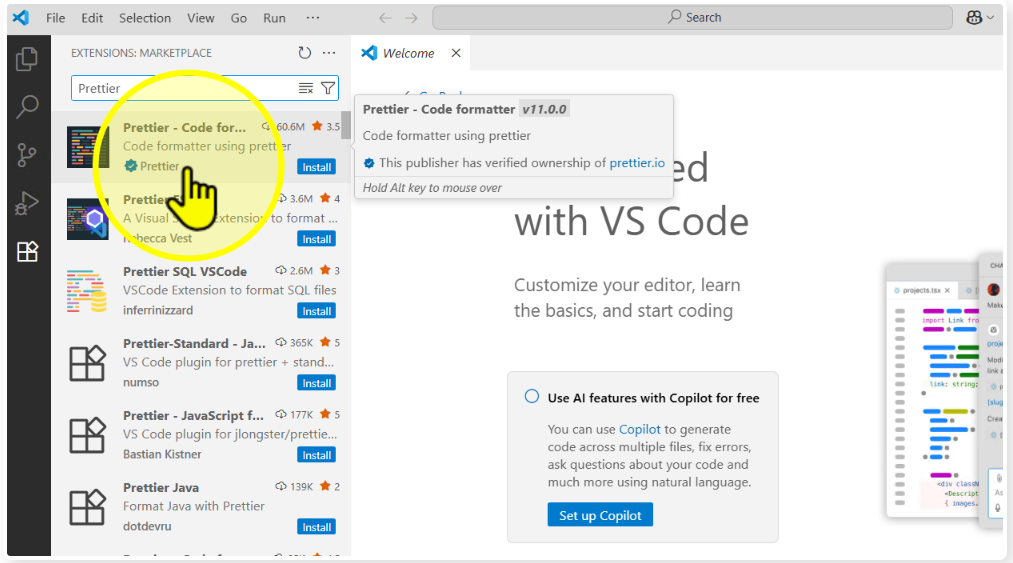
Click 'Install'
On the extension page, click Install.
Click 'Trust Publisher & Install' if prompted
If you see the publisher trust dialog, click Trust Publisher & Install to continue.

Install the remaining extensions
Repeat Steps 3–6 for each extension below:
- Prettier → makes your code neat and organized
- Claude Code → adds your AI helper inside VSCode
- Live Server → shows your webpage instantly when you save
- Indent Rainbow → colors spaces so mistakes are easy to spot
- GitLens → shows who changed what in your code
- Git Graph → shows Git branches as a chart
- Code Spell Checker → catches spelling mistakes in code

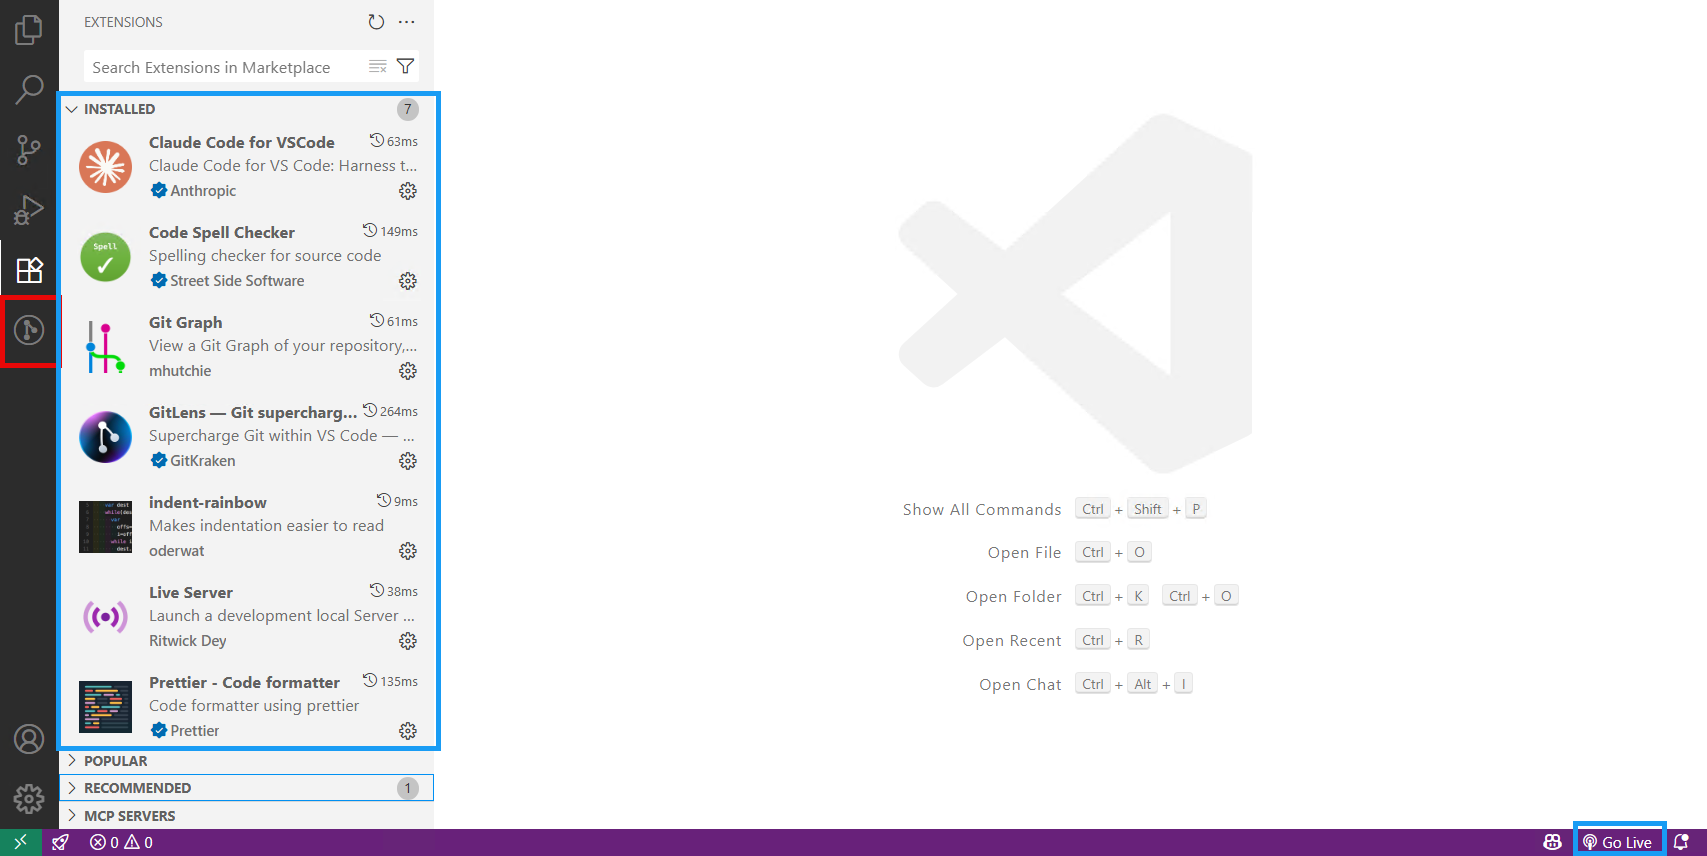
Verify installation and try 'Go Live'
Confirm each extension appears under Installed. If you installed Live Server, you’ll see Go Live in the bottom status bar—click it from a web project to preview instantly.