Platform Note
Creating a repository on GitHub is done in your browser, and cloning with GitHub Desktop is done through the app.
These steps are identical for Windows, macOS, and Linux users.
Go to your GitHub dashboard and click 'New'
GitHub Link
Open your browser, sign in to your GitHub account, and from the dashboard click New (or Create repository if it’s your first time).

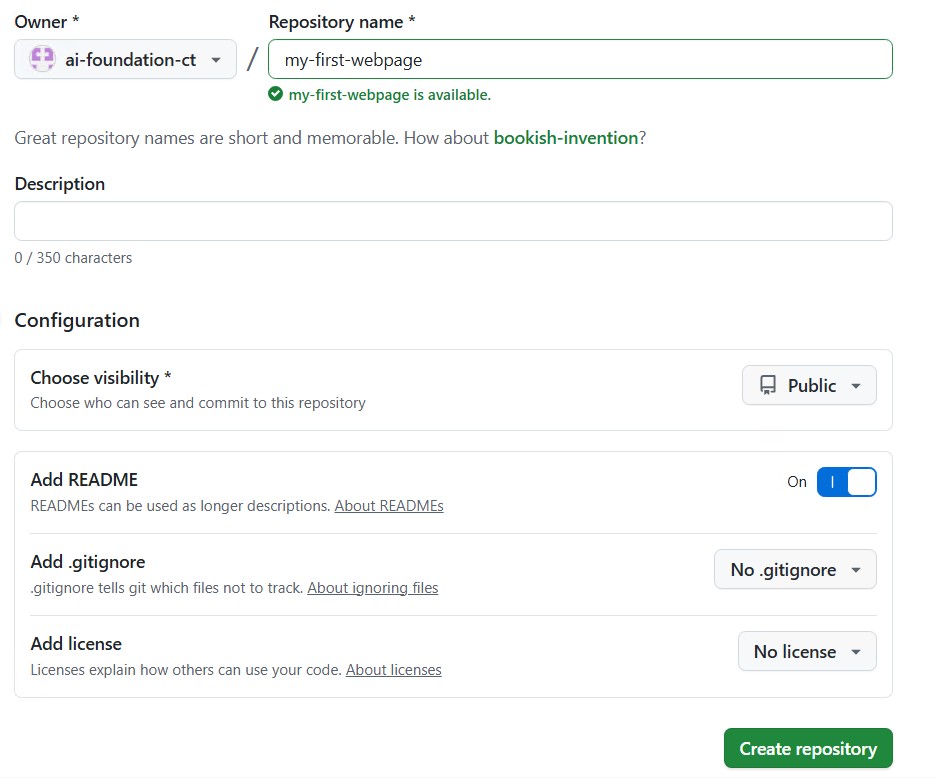
Name your repository
Enter a short and meaningful name for your repository.

Fill in required information and click 'Create repository'
Choose visibility (public/private), add a description, and click Create repository.
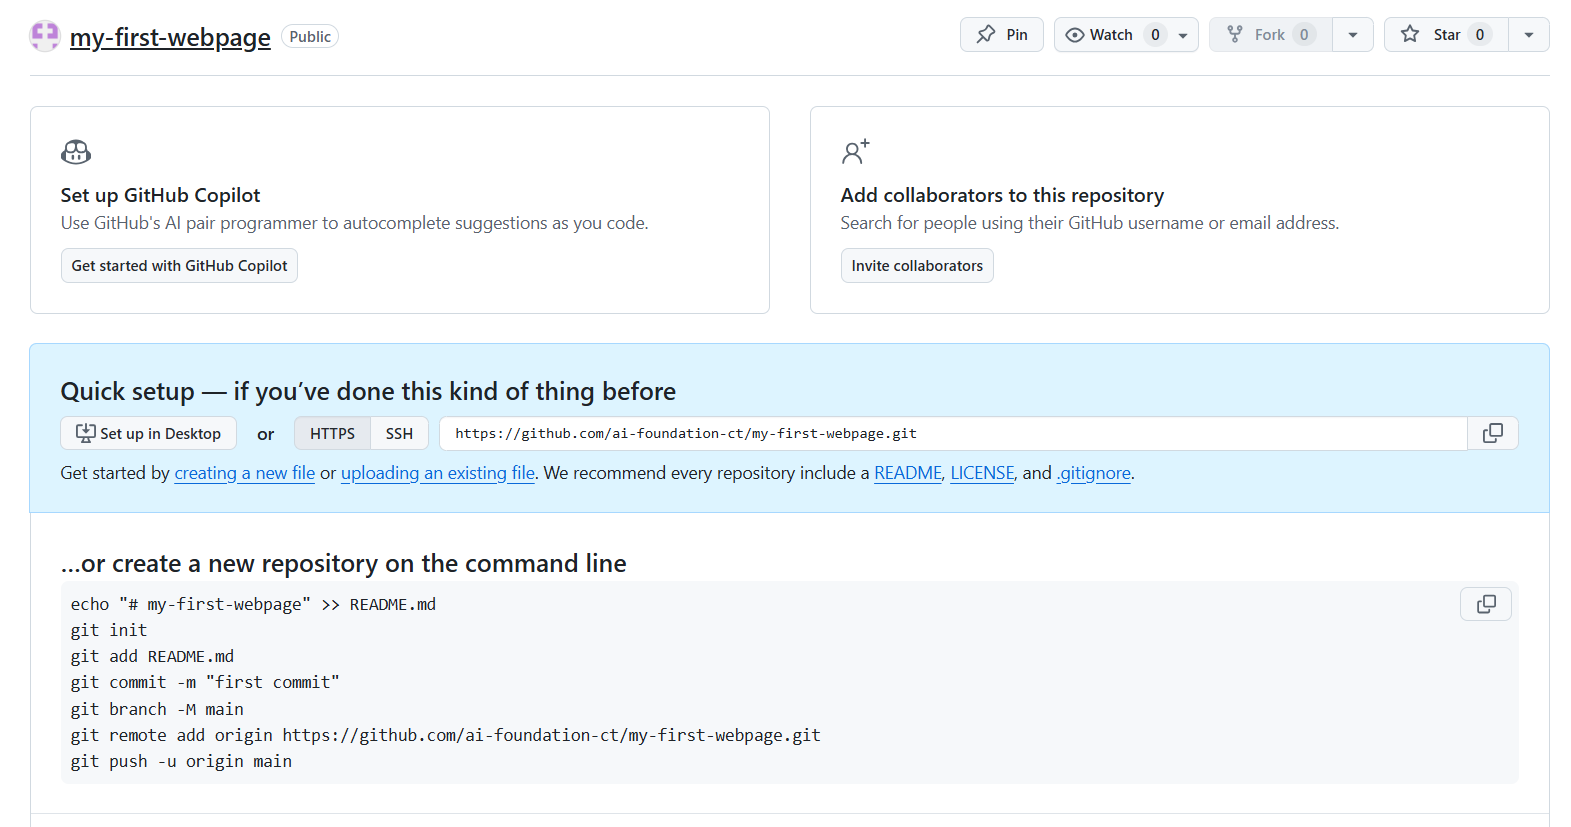
View your new repository page
Once created, you’ll see the repository page.
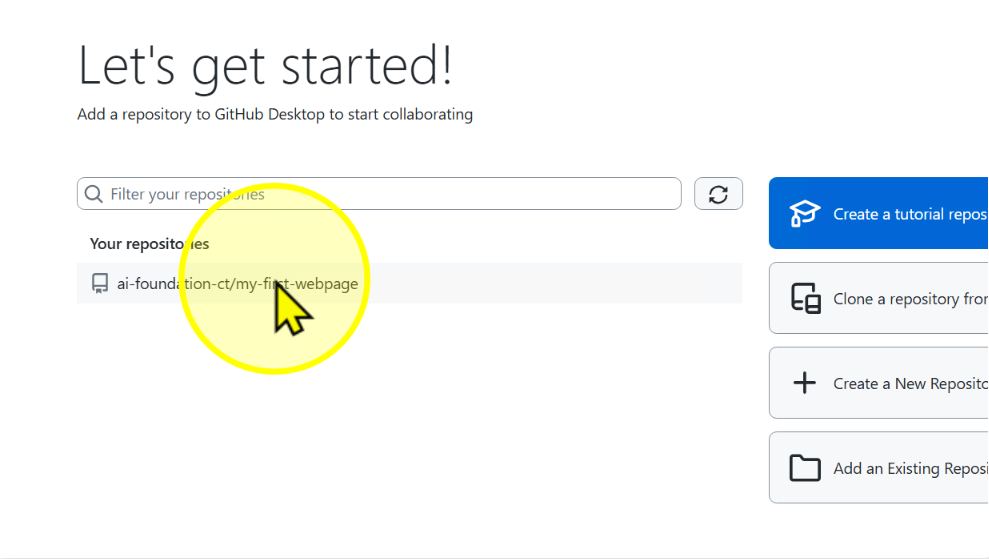
Open GitHub Desktop and select your repository
Launch GitHub Desktop and choose your repository.
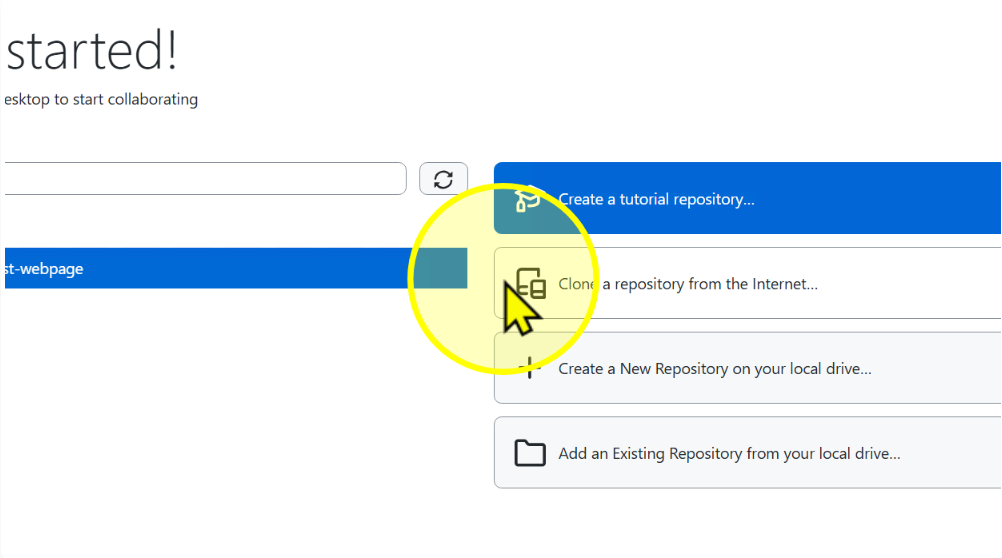
Click 'Clone a repository from the internet'
Click Clone a repository from the internet.
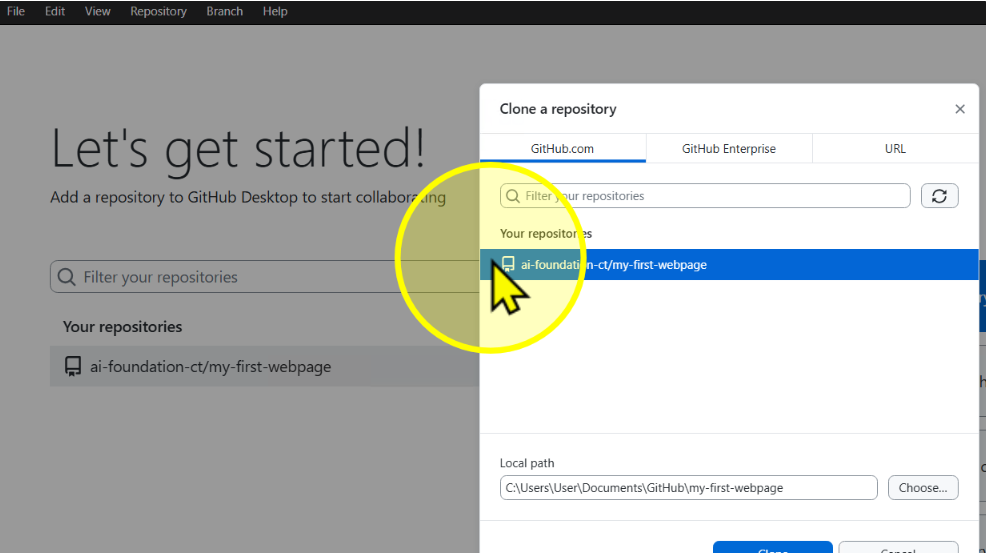
Choose your repository
From the list, select the repository you just created.
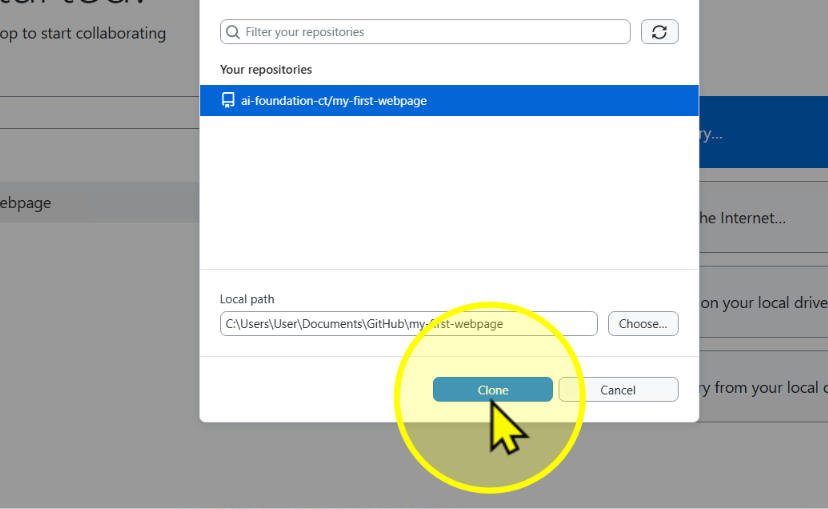
Click 'Clone'
Click Clone to bring the repository onto your computer.
Confirm successful clone
You’ll see the repository page inside GitHub Desktop after a successful clone.
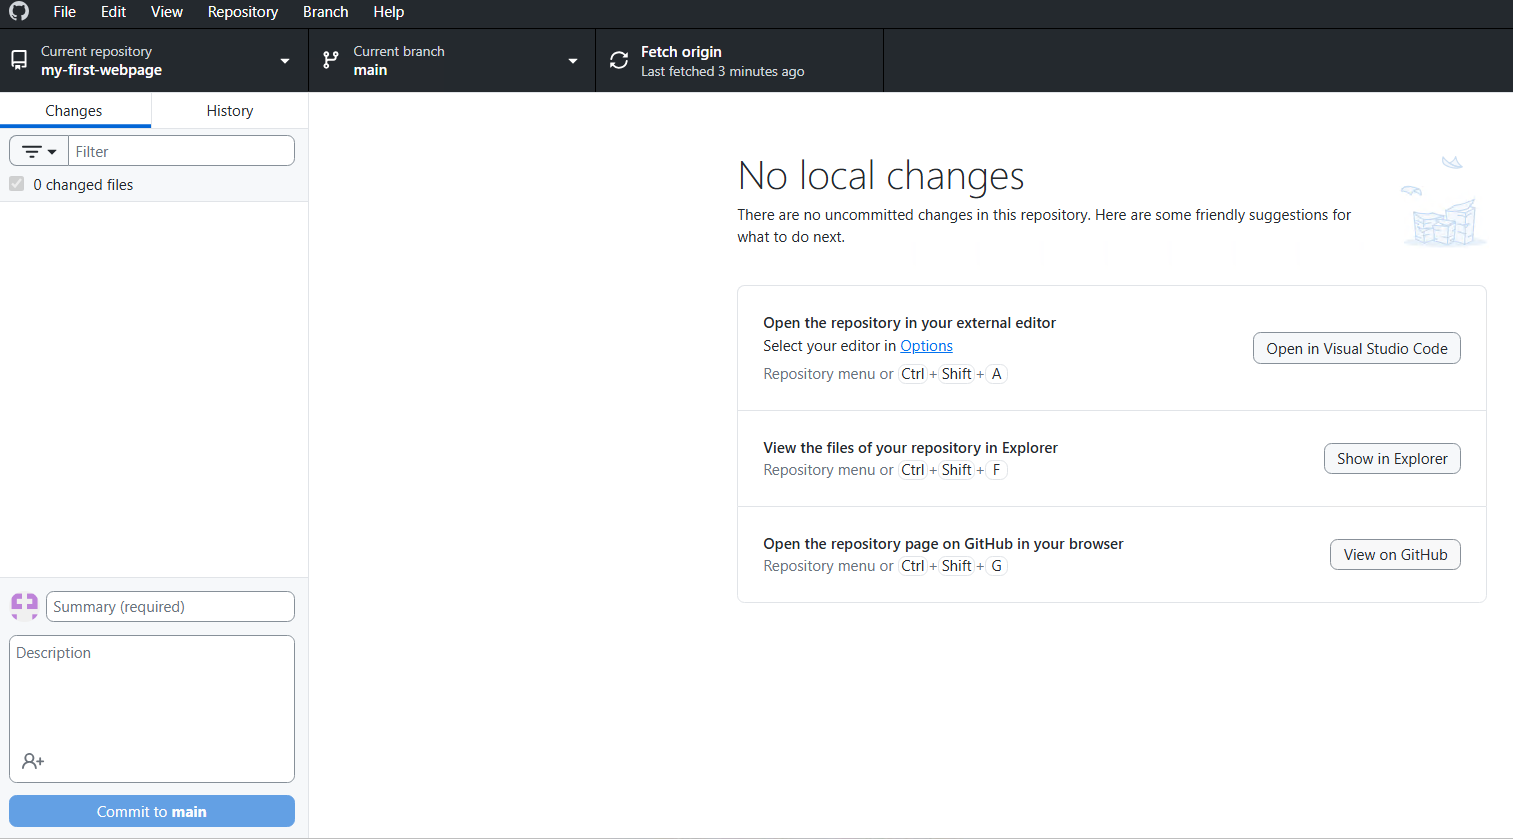
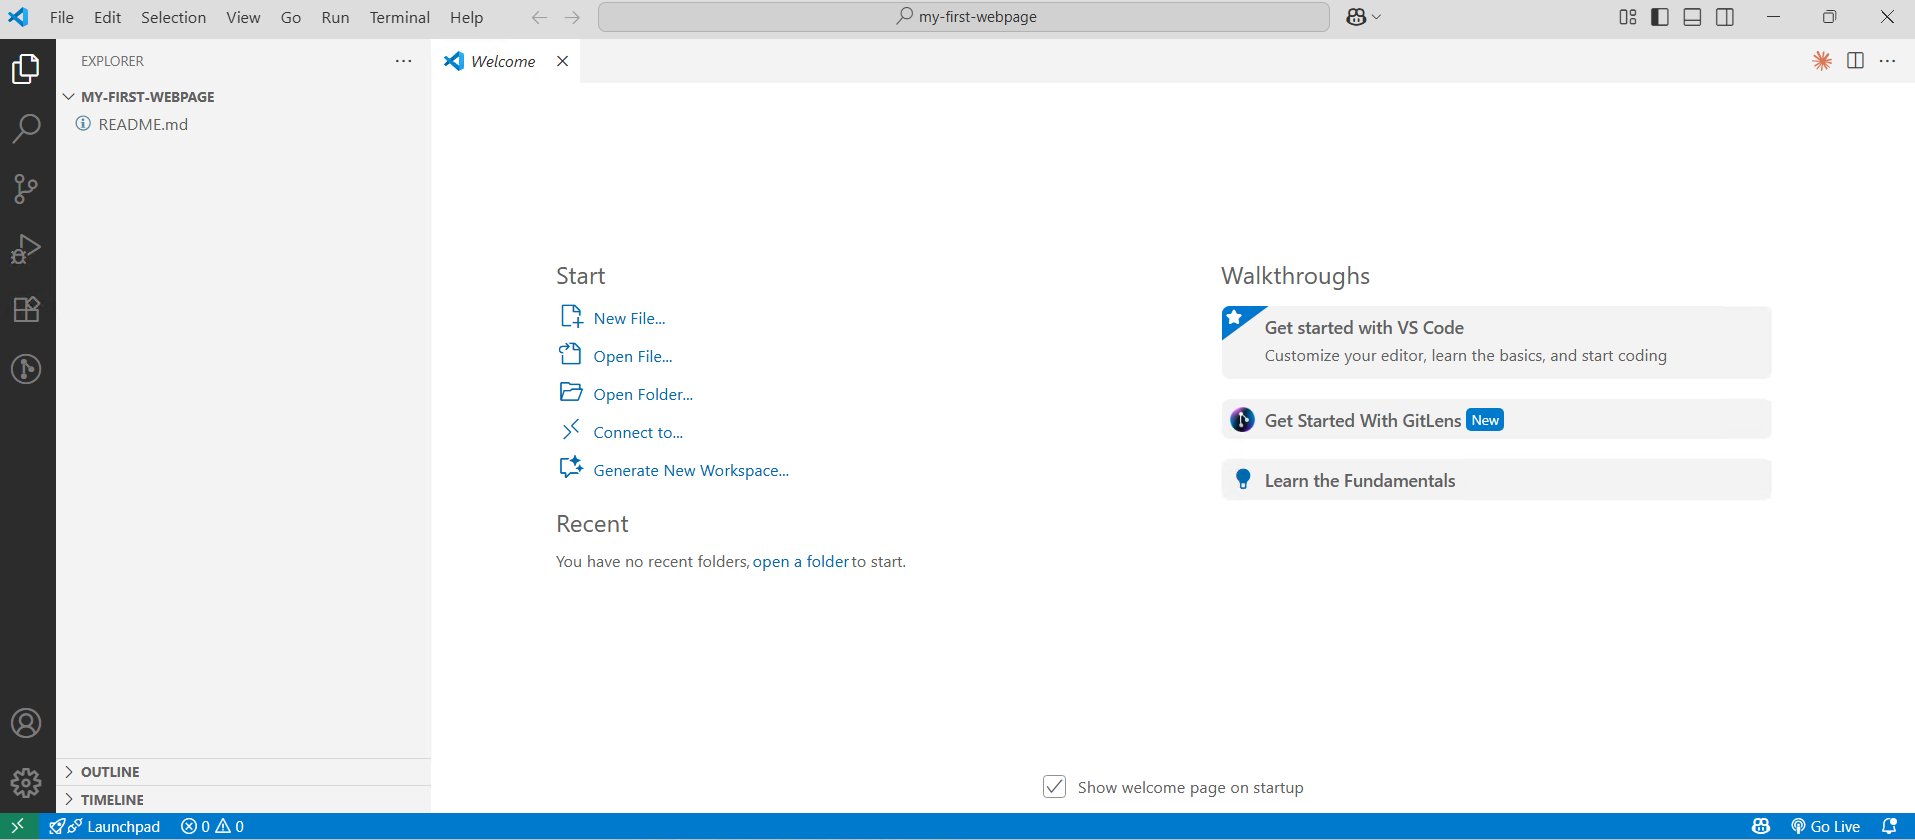
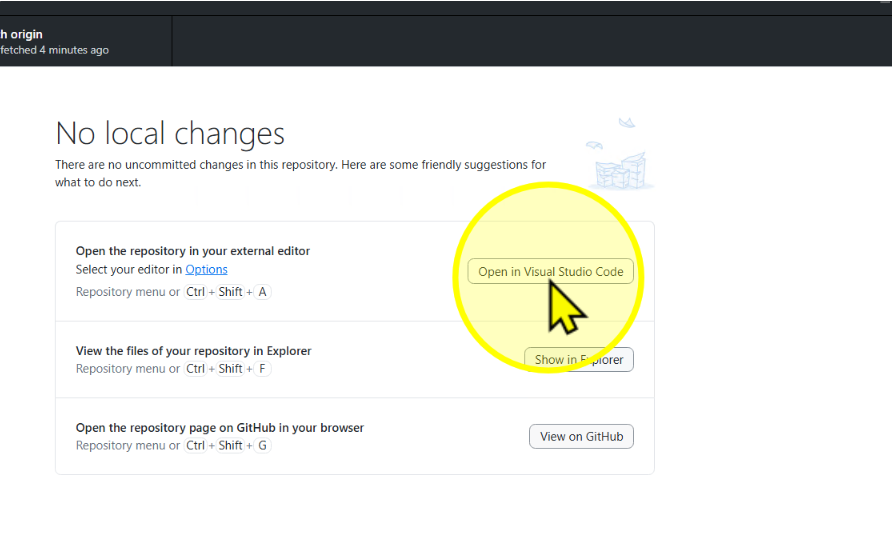
Open in Visual Studio Code
Click Open in Visual Studio Code to start working in VS Code.
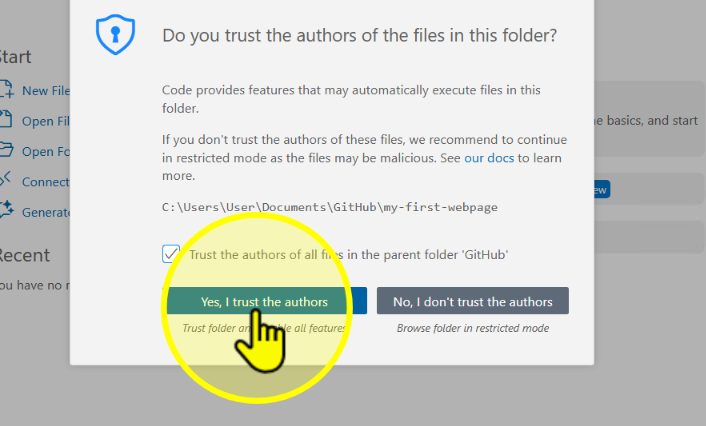
Trust the project folder
Check the box and select Yes, I trust the authors.
See your project in VS Code
Your repository will now be opened in VS Code.