Same Instructions Across Platforms
👉 Since Claude Code is installed through the VSCode terminal, the steps are identical for Windows, macOS, and Linux.
1
Install Claude Code with npm
Inside VSCode terminal, type the following command and press Enter:
VSCode Terminal
npm install -g @anthropic-ai/claude-code 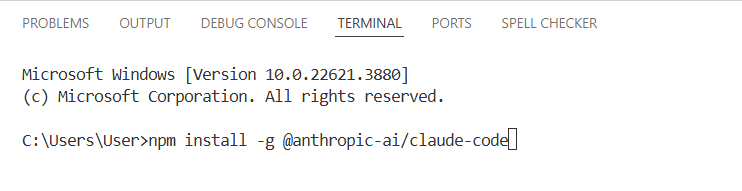
Step 1
2
Check installation worked
Type:
VSCode Terminal
claude --version You should see output like 1.x.xxx (Claude Code).

Step 2
3
Click the Claude icon in VSCode
Look at the top-right corner of VSCode and click the Claude icon.
![]()
Step 3
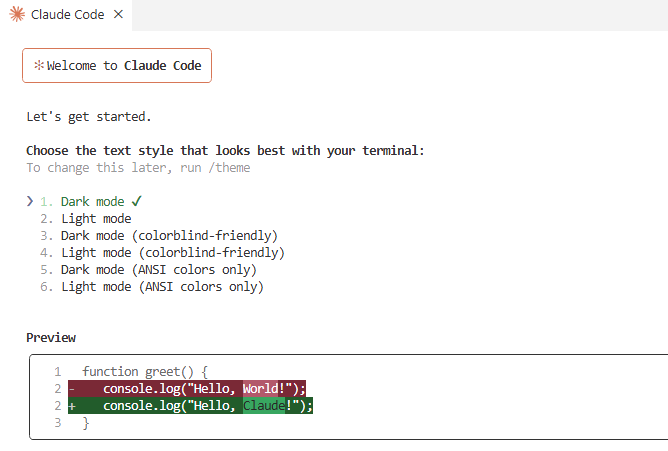
4
Select your text style
Use the arrow keys to select your text style, then press Enter.
Step 4
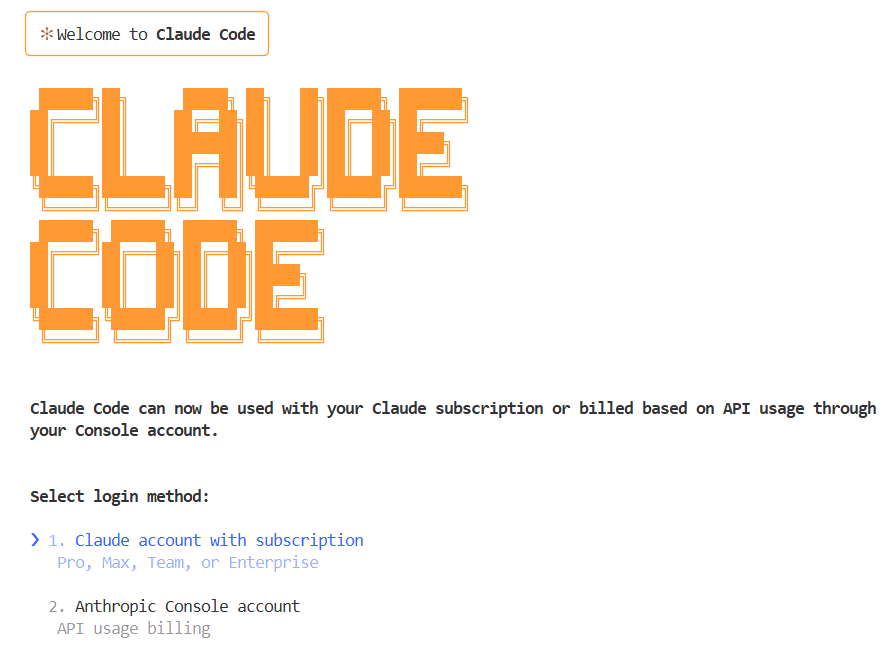
5
Select your Claude account
Choose your subscribed Claude account and press Enter.
Step 5
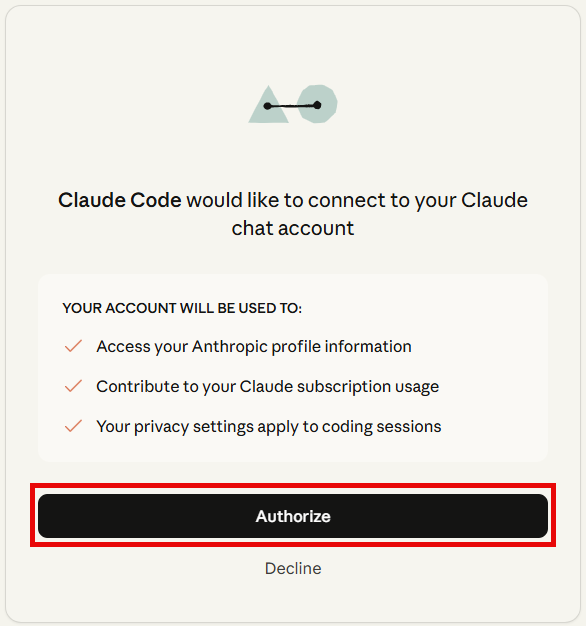
6
Login and authorize account
Log in with your Claude account and click Authorize.

Step 6
7
Close the authorization window
After successful login, close the authorization window.

Step 7
8
Confirm recommended settings
Press Enter twice to proceed, then choose Use recommended settings.

Step 8
9
Finish setup and open Claude Code
Press Enter to complete setup. You’ll be brought to the Claude Code welcome screen.
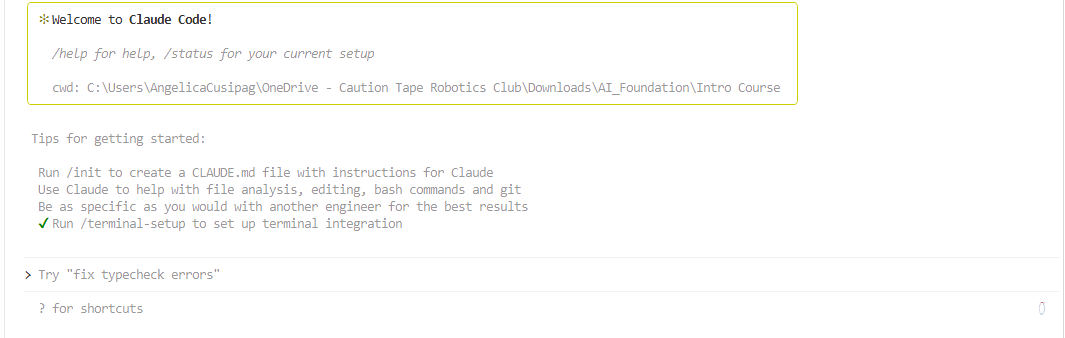
Step 9