
Click 'Download for Windows'
On the homepage, click Download for Windows.

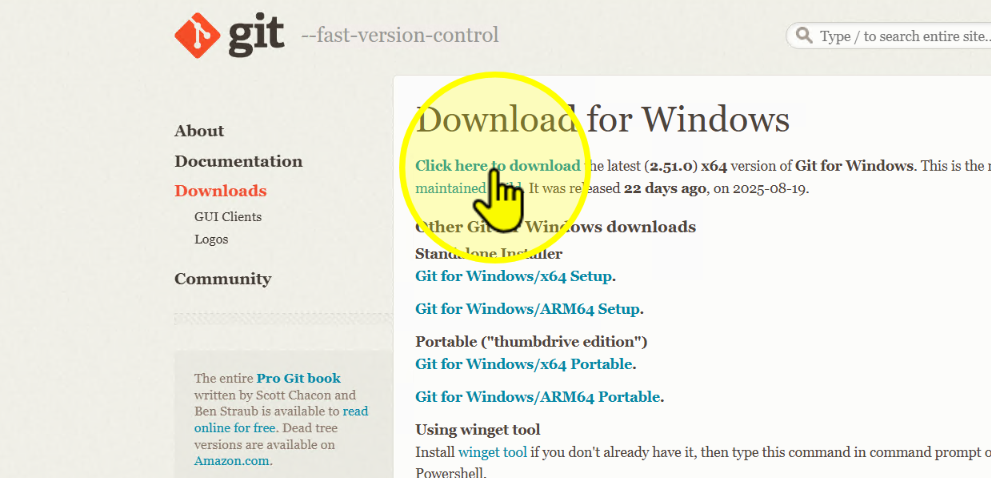
Click 'Click here to download'
On the next page, click Click here to download.
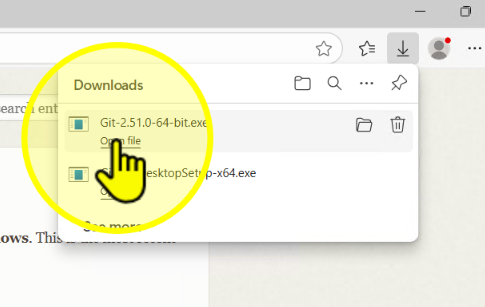
Open the downloaded installer file
Once the file has downloaded, open it.
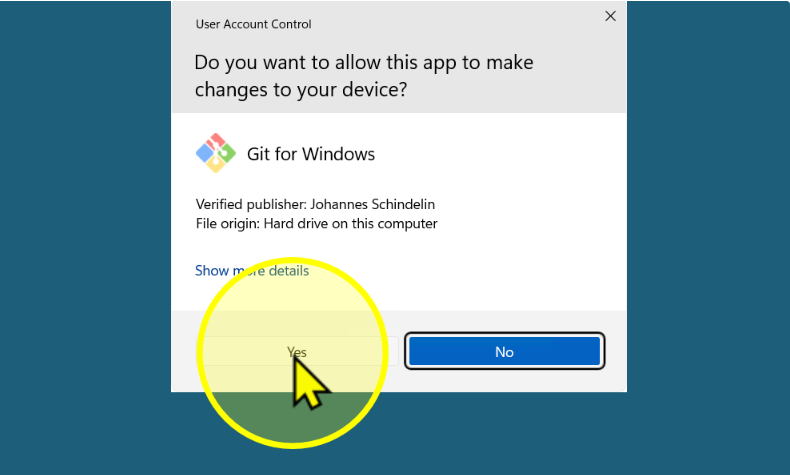
Click 'Yes' when prompted
If asked by User Account Control, click Yes.
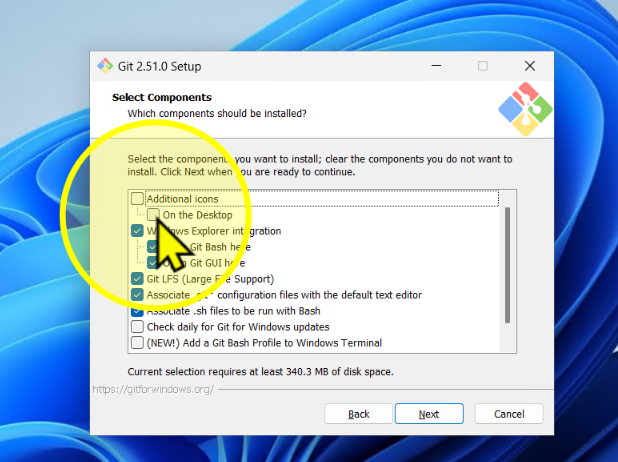
Click 'Next' until you reach Select Components
Keep clicking Next until you arrive at the Select Components screen.

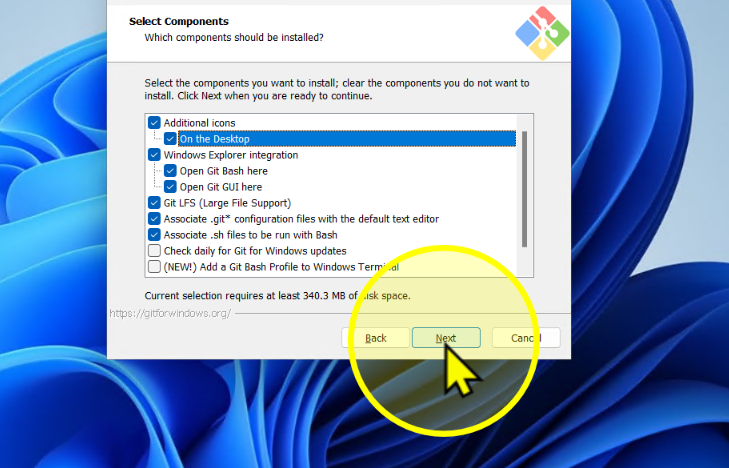
Select 'On the Desktop' shortcut
On the Select Components screen, check On the Desktop.
Click 'Next' until Adjusting the name of the initial branch
Keep clicking Next until you reach the branch name settings.
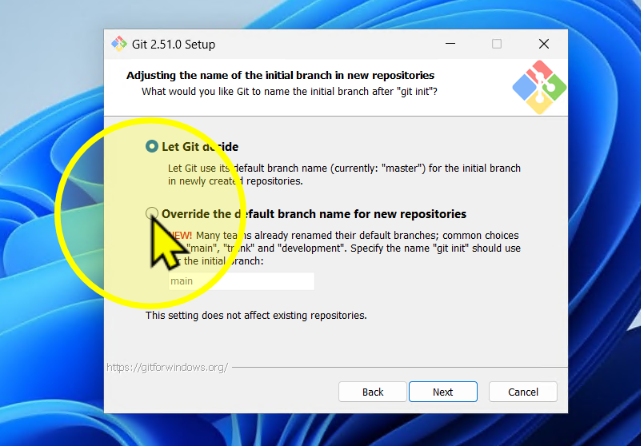
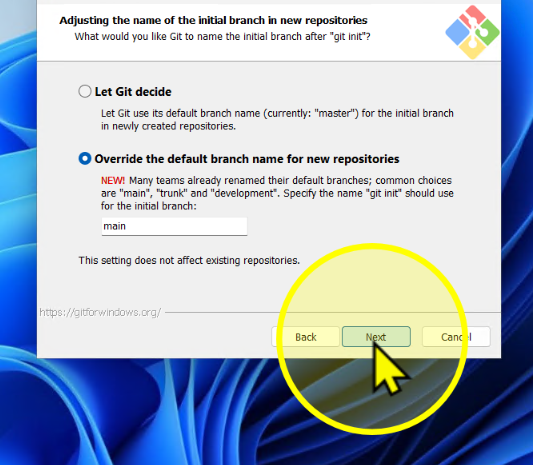
Select 'Override the default branch name for new repositories'
Choose Override the default branch name for new repositories.
Click 'Next' until Install
Continue clicking Next until the Install screen appears.
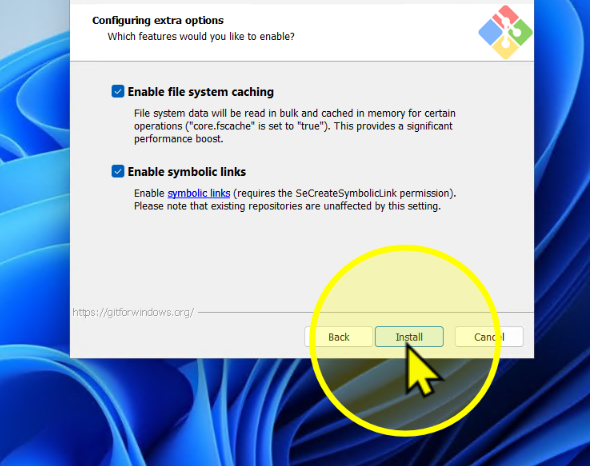
Click 'Install'
Click Install to begin installation.
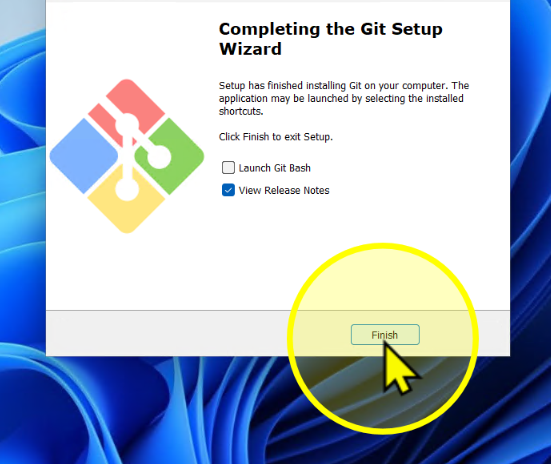
Click 'Finish'
When the installation completes, click Finish.
Check Git version in VS Code
Open VS Code, then click Terminal → New Terminal. Type the following command and press Enter:
git --version You should see something like: git version 2.xx.x.

Type 'git' in VS Code terminal
In VS Code, open a terminal and type the following command:
git You will receive a message prompting you to install developer tools.
Note on macOS Developer Tools
On macOS, Git comes bundled with the Apple Command Line Tools.
This installation is handled directly by macOS, not from the Git website.

Click 'Install' when prompted
A pop-up will appear asking to install the developer tools.
Click Install to continue.

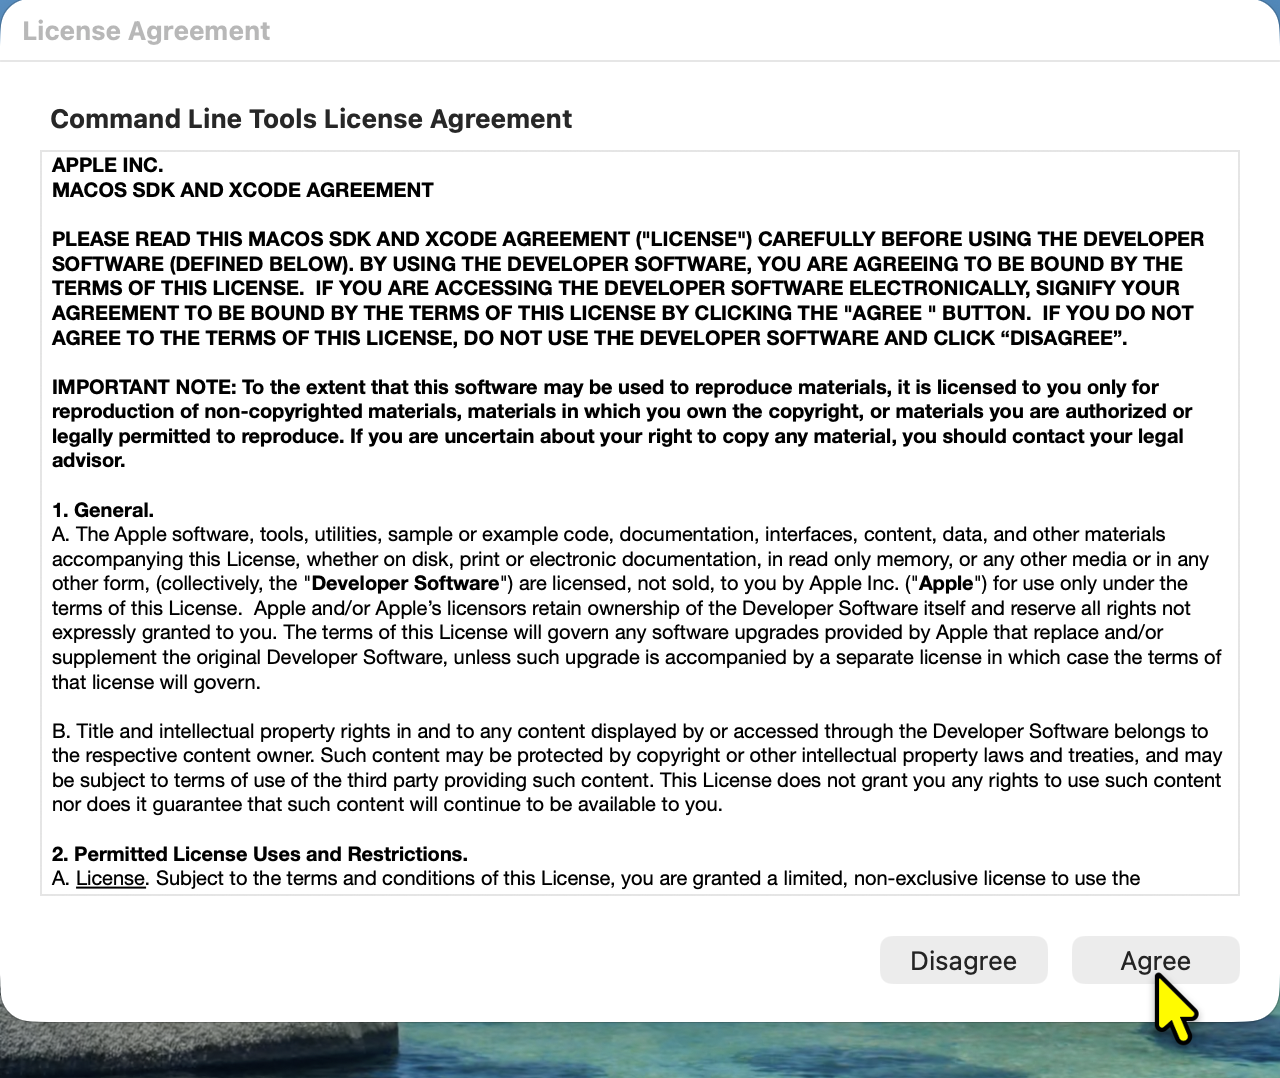
Click 'Agree'
Review the license agreement and click Agree.
Click 'Done'
Once installation completes, click Done to close the installer.
Verification Steps
The following verification step is identical for all platforms once Git is installed.
⚠️ Windows users will see additional prompts during installation,
but the command to check the version is the same.
Verify Git version
In VS Code, open Terminal → New Terminal and type:
git --version You should see something like: git version 2.xx.x.
